LED ON/OFF Control via Serial Command using Built-In LED
Hardware Required
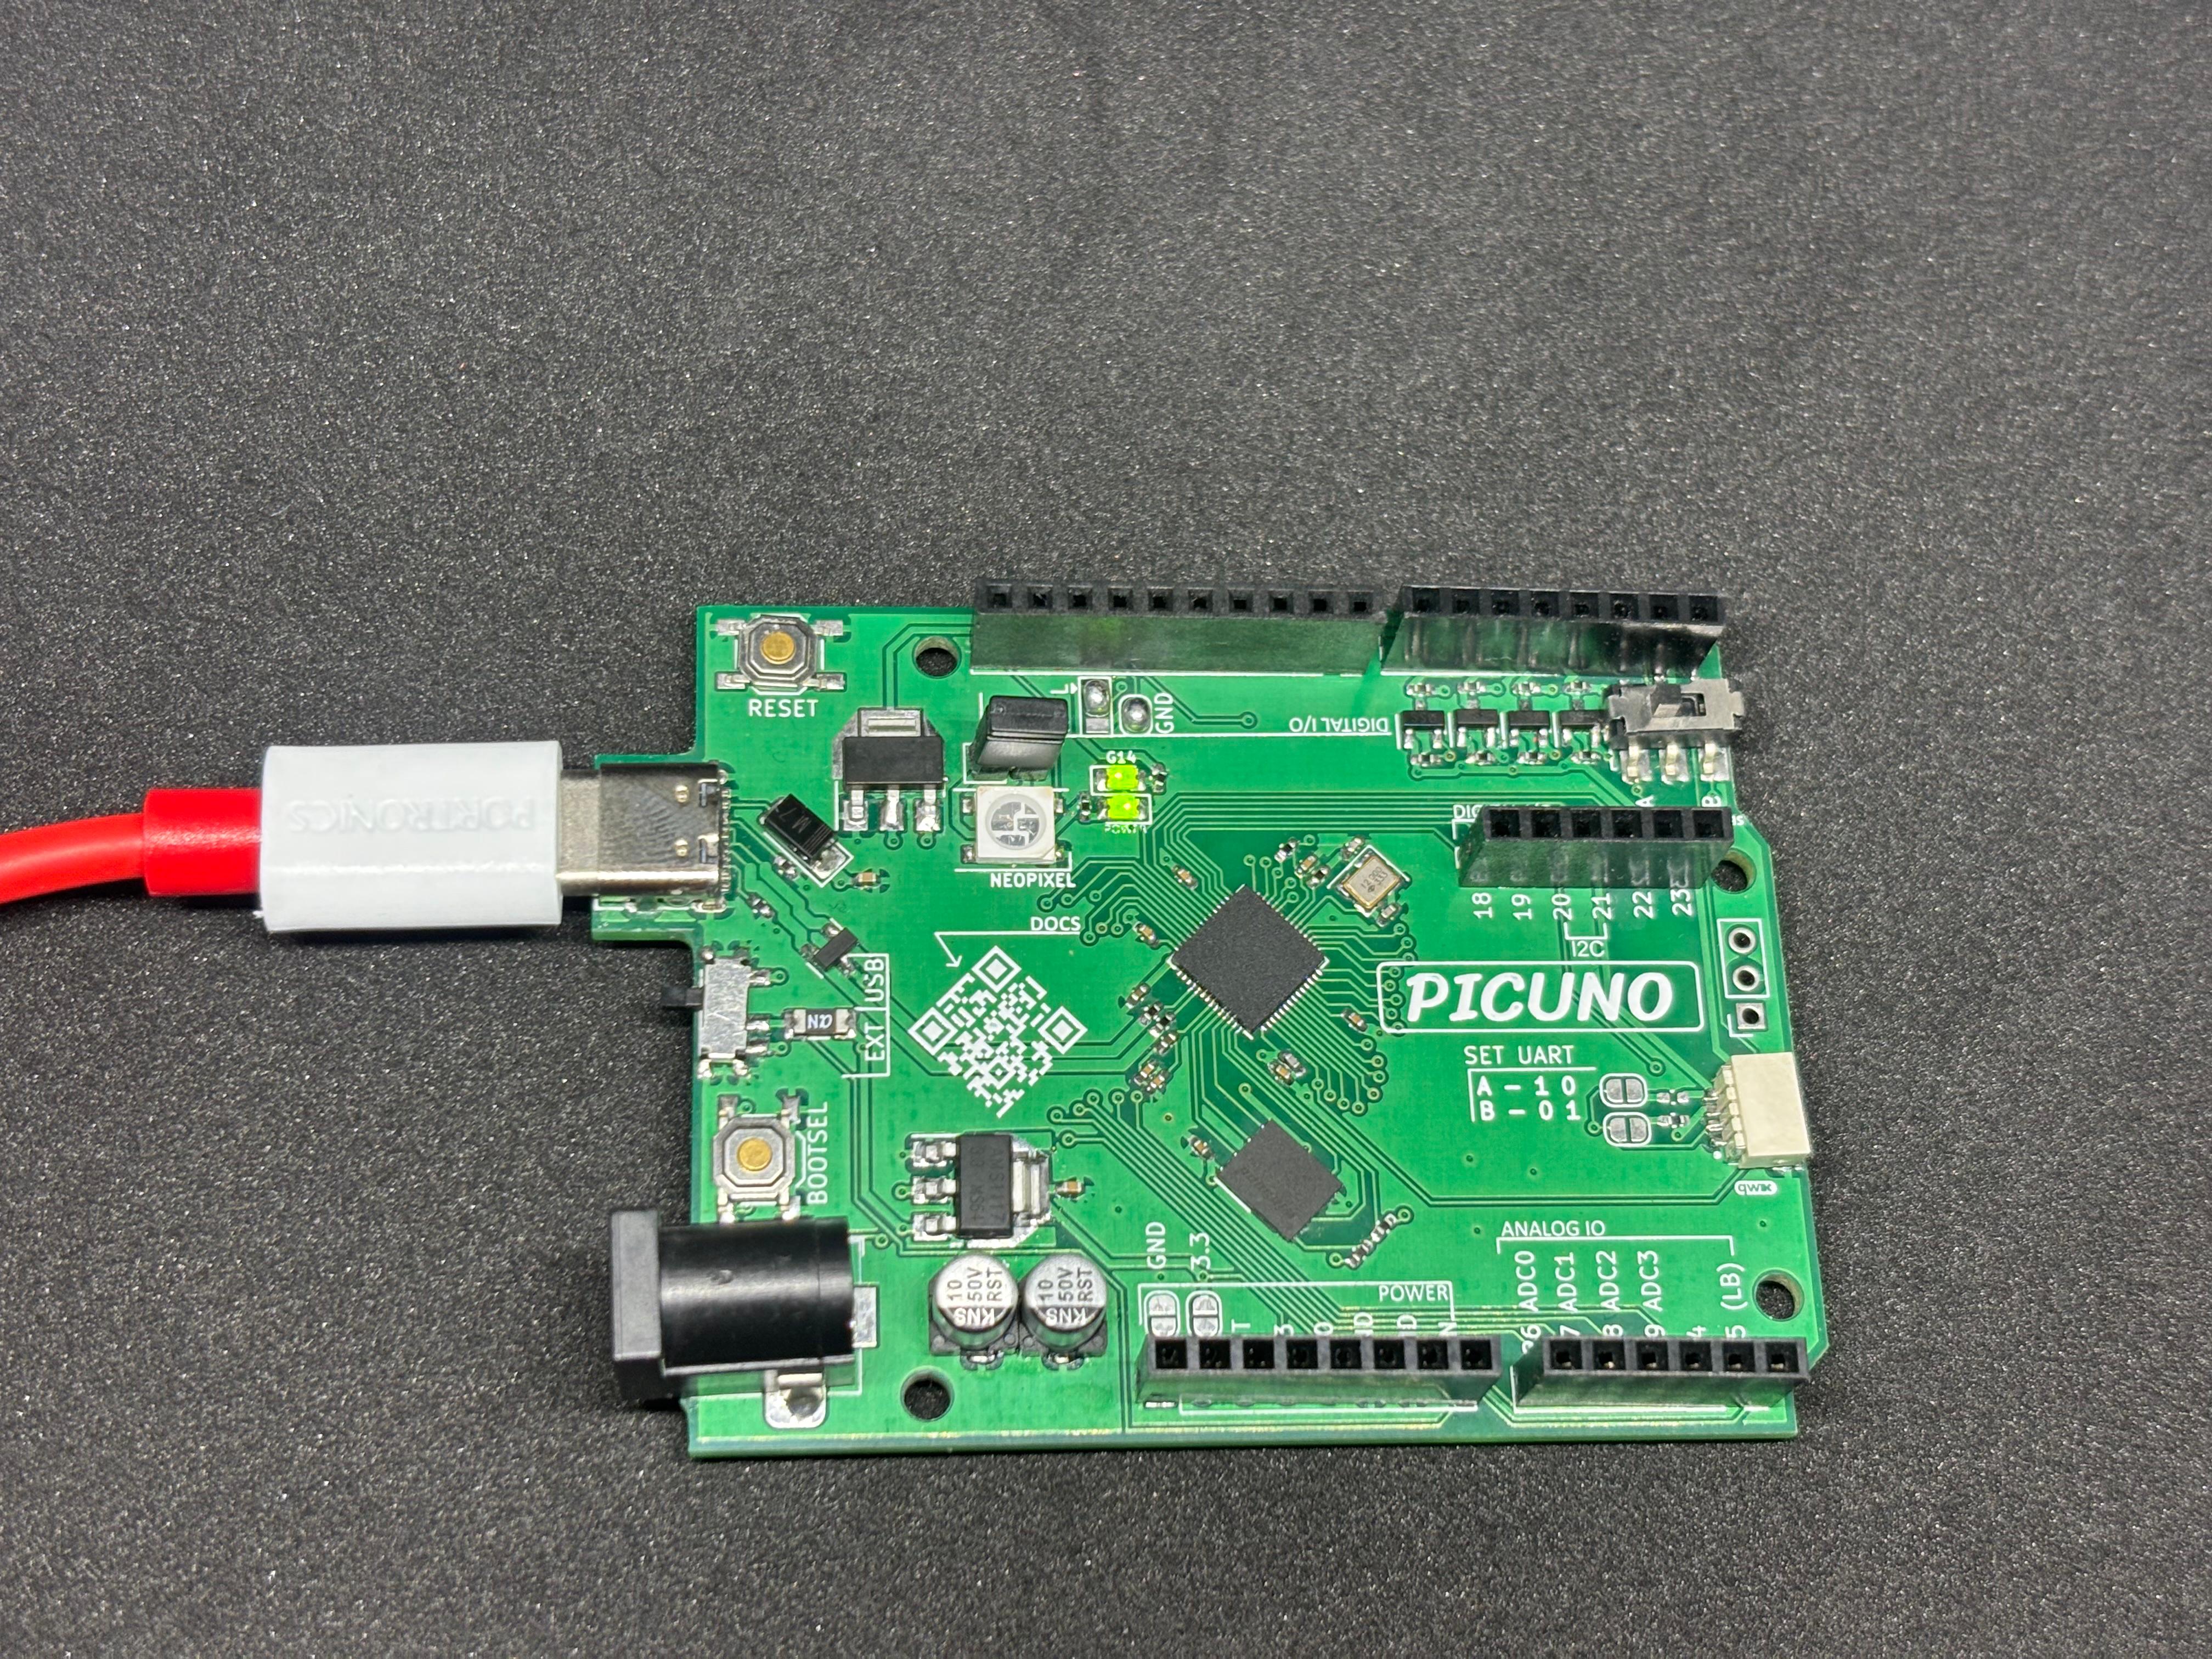
- PICUNO Microcontroller board (built-in LED on GPIO 14)
- USB cable (for power and programming)
Description
The user types 'on' or 'off' in the serial input, and the microcontroller reads the command using the input() function in Thonny IDE or Serial.readString() in Arduino IDE. Based on the input, GPIO 14 is set HIGH or LOW, which turns the LED ON or OFF accordingly.
Circuit Diagram
Circuit
- Connect the PICUNO board to the computer using a USB cable.
- No external wires or breadboard are required.
- The built-in LED is internally connected to GPIO 14.
- Use the Thonny IDE or serial monitor to send 'on' or 'off' commands.
Schematic
This project uses the built-in LED on GPIO 14 of the PicUNO board. No additional circuit components are required.
Code - C
int ledPin = 14; // Built-in LED pin
String inputString = ""; // Stores user input
void setup() {
pinMode(ledPin, OUTPUT);
Serial.begin(9600);
Serial.println("Type 'on' to turn LED ON, 'off' to turn it OFF");
}
void loop() {
if (Serial.available()) {
inputString = Serial.readStringUntil('\n');
inputString.trim();
inputString.toLowerCase();
if (inputString == "on") {
digitalWrite(ledPin, HIGH);
Serial.println("LED is ON");
} else if (inputString == "off") {
digitalWrite(ledPin, LOW);
Serial.println("LED is OFF");
} else {
Serial.println("Invalid command. Type 'on' or 'off'.");
}
}
}
<Serial.begin(9600) - Initializes serial communication.
Serial.readStringUntil('\n') - Reads input until newline.
inputString.trim() and toLowerCase() - Cleans and normalizes the input.
digitalWrite(ledPin, HIGH/LOW) - Turns the LED ON/OFF.
Serial.readStringUntil('\n') - Reads input until newline.
inputString.trim() and toLowerCase() - Cleans and normalizes the input.
digitalWrite(ledPin, HIGH/LOW) - Turns the LED ON/OFF.
Code - Micropython
from machine import Pin
import time
led = Pin(14, Pin.OUT)
print("Type 'on' to turn LED ON, 'off' to turn it OFF")
while True:
cmd = input("Enter command: ").strip().lower()
if cmd == "on":
led.value(1)
print("LED is ON")
elif cmd == "off":
led.value(0)
print("LED is OFF")
else:
print("Invalid command. Type 'on' or 'off'.")
Pin(14, Pin.OUT) - Initializes GPIO 14 as an output to control the built-in LED.
input() - Waits for the user to enter a command via the serial terminal.
strip().lower() - Cleans and converts input to lowercase for comparison.
led.value(1) - Turns the LED ON.
led.value(0) - Turns the LED OFF.
Appropriate messages are printed based on the user's command.
input() - Waits for the user to enter a command via the serial terminal.
strip().lower() - Cleans and converts input to lowercase for comparison.
led.value(1) - Turns the LED ON.
led.value(0) - Turns the LED OFF.
Appropriate messages are printed based on the user's command.